Now I know what you’re thinking, and no, I’m not referring to the Outlook Inbox as something that’s “cool” or that it “owns” or that it is “rad.” This is a dignified blog post that would never use colloquial teenager slang. Something so gauche will never touch this page. No, today, we’re talking the method through which you can dictate how Outlook or the Outlook Web App automatically handles certain emails. It is structured. It is elegant. It is… bourgeois decadence.
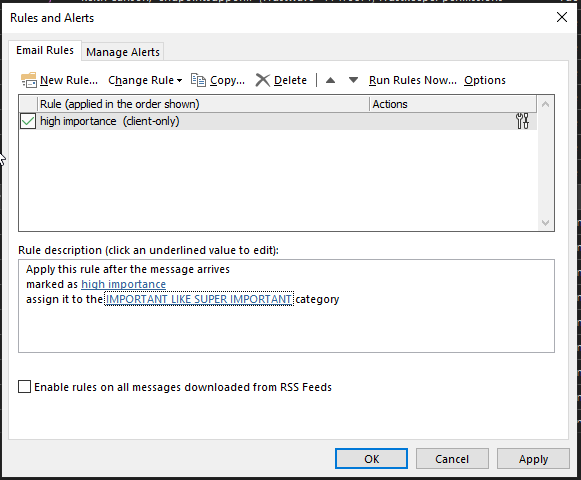
One important thing to note first is that when creating rules in the Outlook application, some rules will ONLY be run when the application itself is open. These rules are specifically marked as ‘client-only’, so keep an eye out for that. Any rules not marked that way will always run, regardless of Outlook.
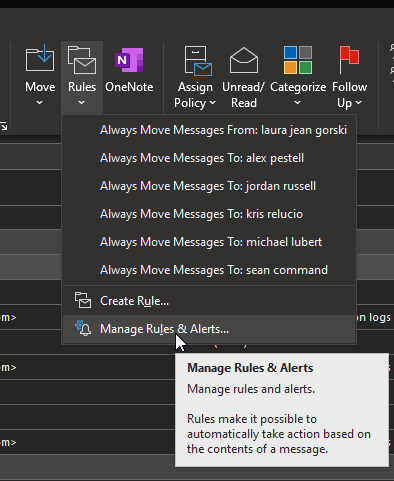
You can find the Rules and Alerts menu on the Outlook top bar while viewing the inbox. You will be given several options to quick-create rules based on whichever email you currently have selected, but I prefer to create them from scratch as needed.
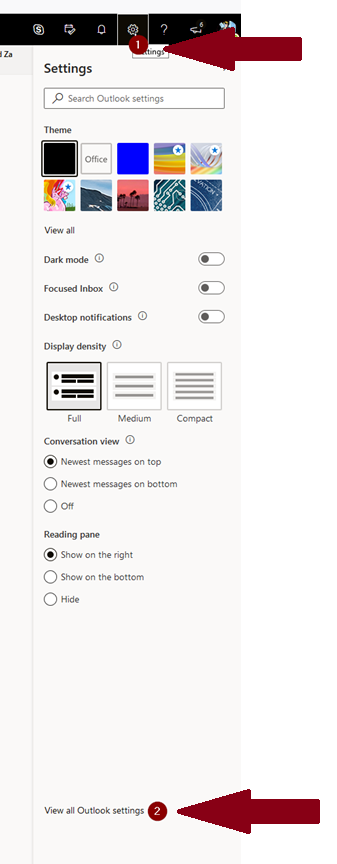
From the Outlook Web App, or OWA, you can access rules via the upper-right gear menu and selecting View all Outlook settings. Note that as opposed to the Outlook application, rules created in OWA will always run.
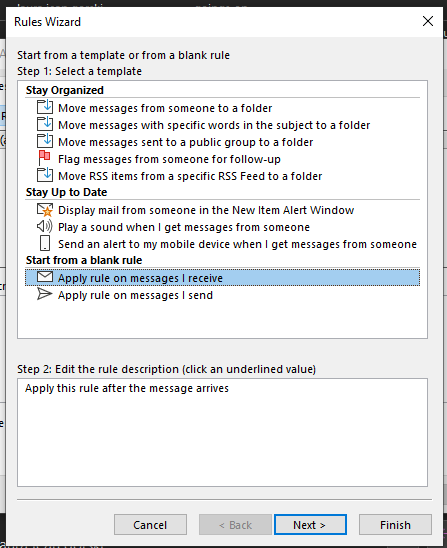
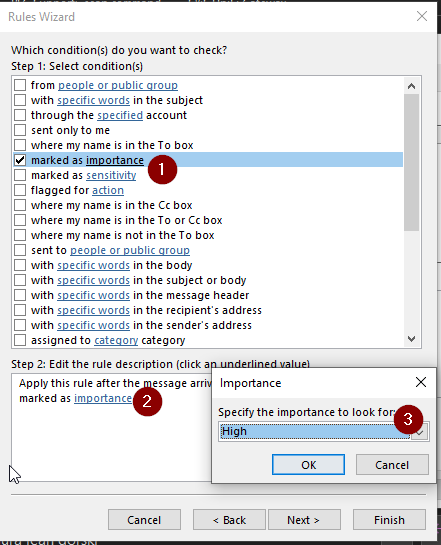
When creating a new rule, you are offered a series of templates you can start with if they pertain to your specific use case. I typically create blanket rules for all emails I send or receive, then apply additional filters to narrow the scope of action. In this case, I’m assigning a category to all emails in my inbox that are marked with High Importance.
Note that when selecting a condition to filter the scope of how the rule is being applied, you’ll often need to click the blue, underlined text in the bottom pane to assign the specific parameters you want.
The same applies thing applies when determining what you want to do with the message.
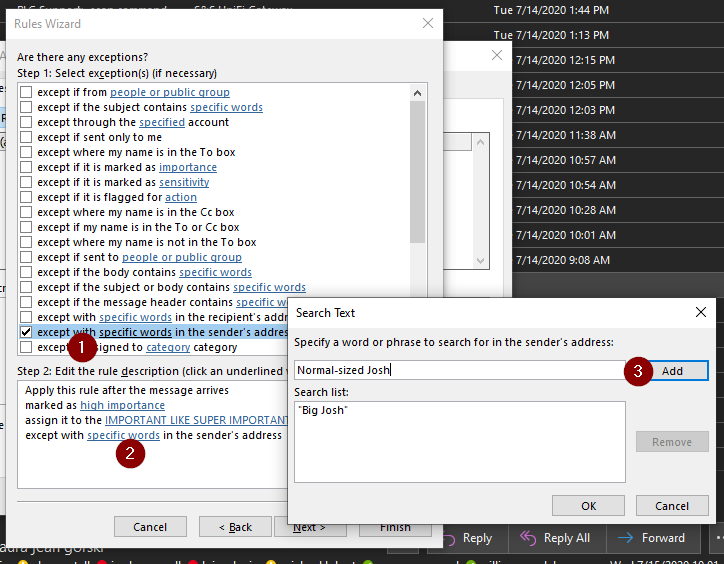
You can also set exceptions where you don’t want the rule to apply when it would normally fall under its scope. In this case, I have determined that emails from “Big Josh” and “Normal-sized Josh” are not super important.
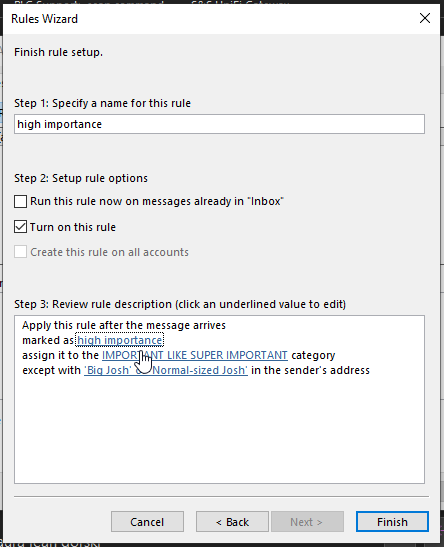
Then you’re done! If you want to run the rule against all emails already in your inbox, you can put a check in the box for Run this rule now on messages already in “Inbox” before clicking Finish.
This is getting a bit long, so I won’t be going into detail on rule creation within OWA. The process is similar, albeit with a less-friendly interface. If you have questions about it, feel free to ask your neighborhood Bird [the human ones, not the taxonomic class Aves (haha)], but most importantly, have fun!