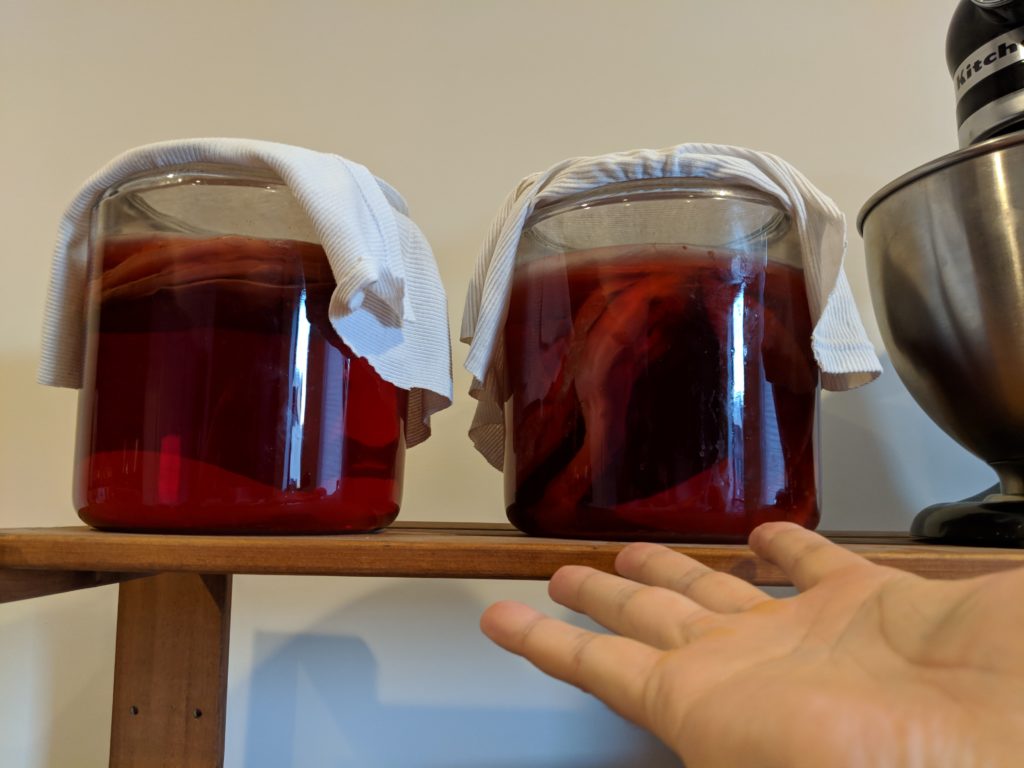
Since moving to Chicago, I would guess that at least 75% of my frivolous buys have been consumables. “15 dollars for this burger at lunch today is probably fine. Definitely won’t do it again tomorrow;” and, “Cat will really appreciate these Oreos I got her. Or she would have if I hadn’t hidden them and eaten the whole sleeve on the sly,” are two commonly-seen scenarios in the VanDyke realm. Despite that, I’ve been trying to offset those costs by homebrewing the staple drink of any household, Kombucha.
I’ve been making homebrew Kombucha off and on for the last six years, to varying degrees of success. Generally, all you need are a few cheap, common household items:
- An off-the-shelf bottle of unflavored Kombucha
- Sugar
- Water
- Tea bags
- A large, glass jar (Anything above 1 quart should be fine)
- A cloth that is permeable to air, but impermeable to particulates like dust (I cut up and old, thin shirt for this)
- Rubber bands
Once you have all of this, the procedure is straightforward. Just make sure you’re working with clean hands and clean kitchenware when doing any steps that involve contact with the culture to avoid contaminants. Instructions for a 1-gallon batch are as follows:
- Add 1 cup of sugar, 14 cups of water, and 8 tea bags to a large pot. Heat while stirring to dissolve all the sugar. I prefer to bring to a boil because I’m paranoid about contaminants, but whether this is needed or not is debatable.
- Allow mixture to cool to at least near room temperature. Remove the tea bags at any point while waiting, depending on how strong you like the steep.
- Add 1 cup from the bottle of Kombucha into your mixture. This is what makes it an active culture and facilitates fermentation.
- Pour mixture into your glass jar and cover with the cloth. Pull the cloth reasonably tight and secure it with a rubber band.
- Place in a warm area without direct sunlight. Allow to sit for 1-4 weeks, or to taste. The longer Kombucha is allowed to ferment, the more vinegar-y (and less sweet) it will be.
Once your Kombucha has been brewing for a bit, you should start to see a rubbery, white-yellow disk (known as a pellicle) form on top. Keep an eye on how the top of this looks, as this will be the easiest way to identify if mold contaminates your culture. I recommend looking around Google images to get an idea of what a mold colony looks like on a pellicle, as it can be hard to differentiate between that and a non-threatening one when you’re first starting out. Generally, watch out for dark, fuzzy circles showing up on top of the pellicle.
If you’re mold free, then kudos! Why pay four dollars for a glass of delicious vinegar water when you can make it from the comfort of your own home? The possibilities are endless! Use a green tea! Use a black tea! Make it with your dog! Make it with your frog! Make it in the hollowed-out, sawdust-blighted basin of a log! (Don’t actually do that last one, though; it might adversely affect your culture.)

